

Xcode
Xcode makes programming in Swift faster and more intuitive. You can build and run your Vapor project from inside of Xcode, use code autocompletion, and option-click for documentation.
Generate Xcode Project
To generate and open the Xcode project, run the following command:
vapor xcode
Select Toolchain
Make sure you have the correct toolchain selected by going to Xcode > Toolchains.
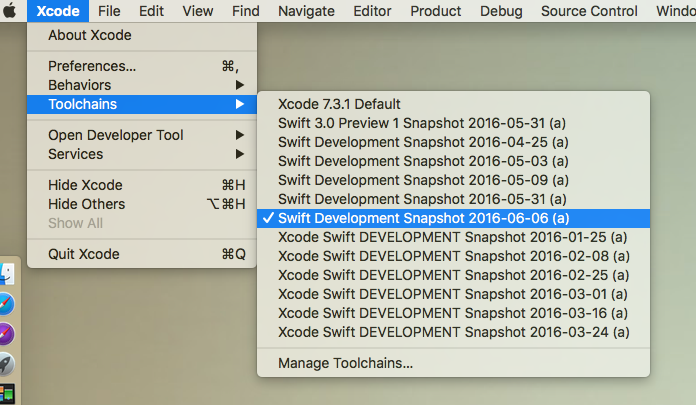
Vapor 0.11 uses the 06-06 (a) toolchain.
Wrong Toolchain
Apple makes breaking changes between snapshots. If you use the wrong toolchain, Vapor will most likely not compile.
Build and Run
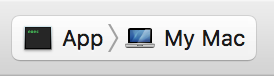
Select App from the list of schemes and press Command+R or hit the play button to build and run your project.
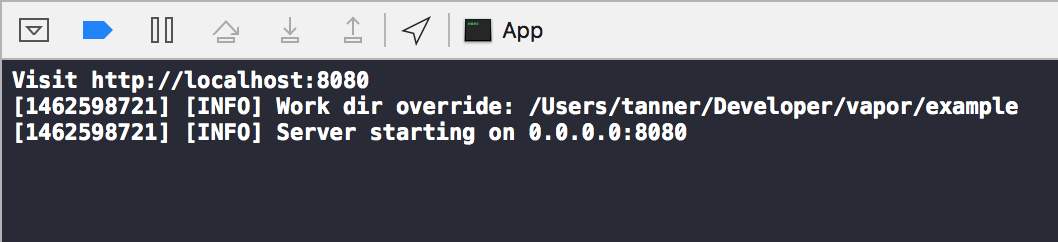
If all goes well, you should see the following printed out in Xcode's console:
Arguments
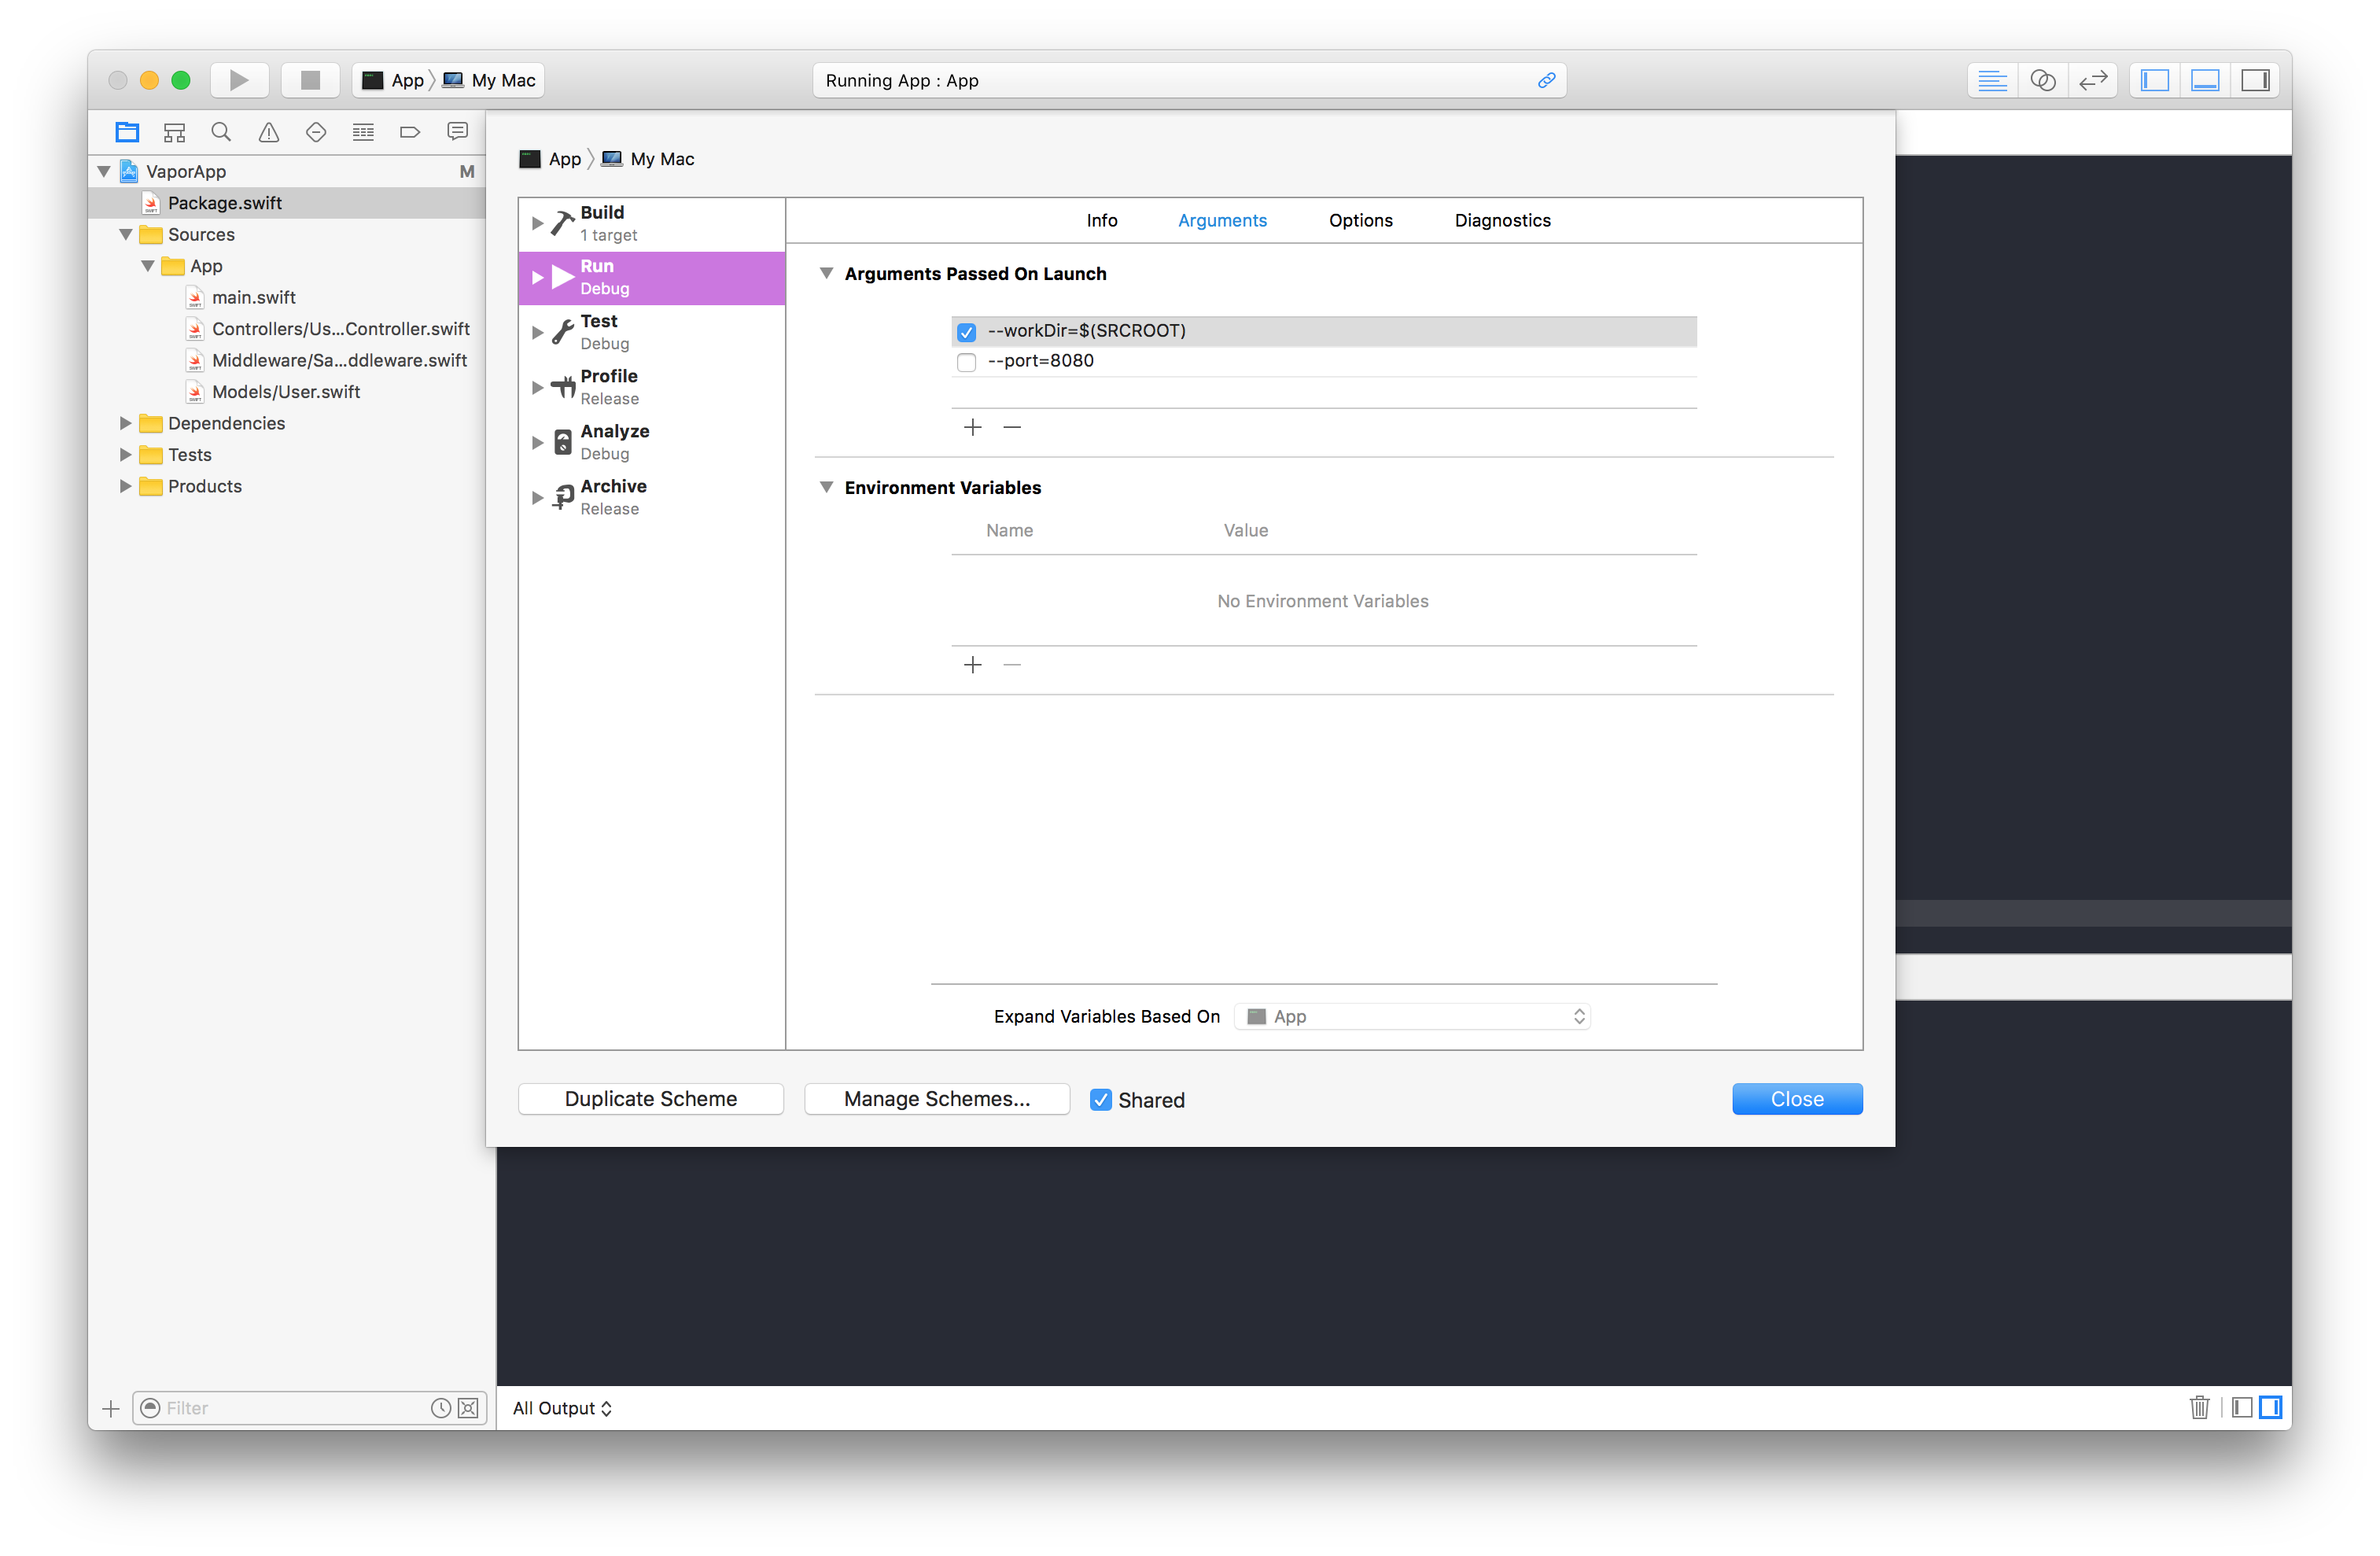
You can pass arguments to the executable through Xcode just as you would through the command line.
Select Edit Scheme... from the scheme list while App is selected.
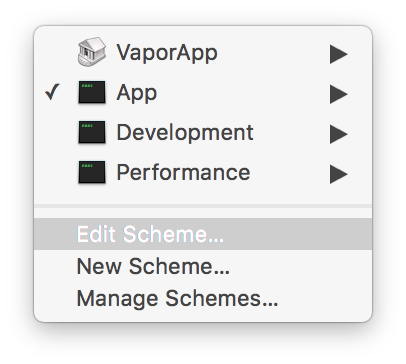
From there, you can change which arguments are passed on launch.
Important Arguments
Xcode builds and runs the executable in a temporary folder on your file system. This makes the current working directory of the executable different than what it would normally be if you ran vapor run serve.
To get around this, you should include the following arguments in your Xcode scheme.
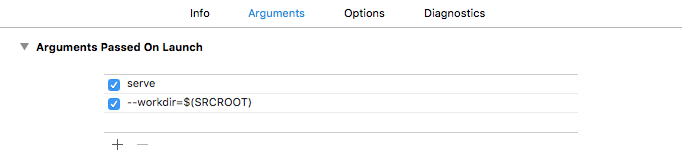
serve
--workdir=$(SRCROOT)
The first argument explicitly runs the serve command. serve runs by default if no command is provided, but this may change in the future. Read more about commands in the Commands section of the Guide.
The second argument passes an Xcode variable for Source Root as the working directory for Vapor. This will allow all of your views and other static to be properly found and rendered.
Updated less than a minute ago